

Three.js 网格光斑扩散效果 | 三维可视化 / AI 提示词
📋 AI 提示词
prompt
1
2
3
4
5
6
7
8
9
10
11
12
13
14
15
16
17
使用 Three.js 实现网格光斑扩散效果,具体要求:

【核心特效】
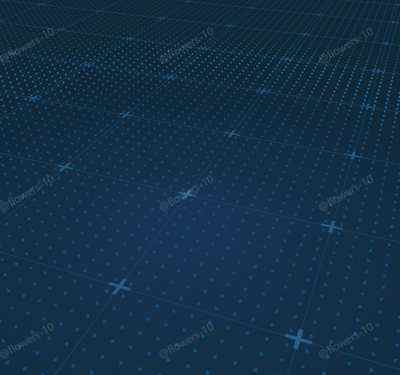
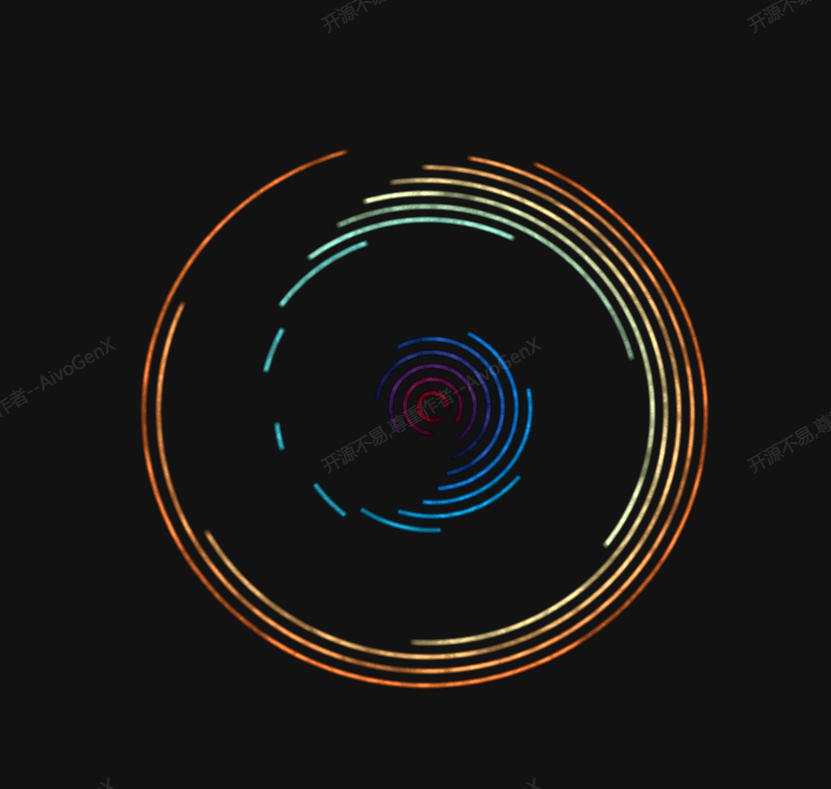
- 点阵上的圆形/横向扩散光环
- 网格线与加号标记组合背景
- GSAP 驱动的相机动画

【场景与光照】
- 深蓝色雾效背景
- 海洋纹理地面
- 纯视觉效果,无需光源

【交互与控制】
- OrbitControls 视角控制
- 自动循环动画
- 响应式窗口适配

【技术要求】
- Three.js 最新版本
- GSAP 动画库
- PointsMaterial + onBeforeCompile 着色器扩展
🖼️ 效果预览
🎮 案例演示
📖 效果拆解
| 层次 | 视觉效果 | 技术实现 |
|---|---|---|
| 基础 | 海洋纹理地面 | PlaneGeometry + 纹理映射 |
| 网格层 | 线条网格 + 加号标记 | GridHelper + ShapeGeometry |
| 核心特效 | 动态扩散光环 | Points + 自定义着色器 |
| 动画层 | 相机路径动画 | GSAP timeline |
🔧 核心技术点
1. 点阵布局生成
使用 BufferGeometry 创建大规模点阵,实现高性能渲染。
javascript
1
2
3
4
5
6
7
8
9
10
const rows = opt.pointLayout.row, cols = opt.pointLayout.col;
const posArr = new Float32Array(rows * cols * 3);
for (let i = 0; i < rows * cols; i++) {
  const r = i % rows, c = Math.floor(i / rows);
  posArr[i * 3]     = (r / (rows - 1)) * opt.gridSize - opt.gridSize / 2;
  posArr[i * 3 + 1] = 0;
  posArr[i * 3 + 2] = (c / (cols - 1)) * opt.gridSize - opt.gridSize / 2;
}
const pointGeo = new THREE.BufferGeometry();
pointGeo.setAttribute('position', new THREE.BufferAttribute(posArr, 3));
2. 扩散光环着色器
根据距离中心点的距离计算扩散效果,支持圆形和横向两种模式。
glsl
1
2
3
4
5
6
7
8
9
10
11
12
13
14
15
16
17
18
19
uniform float uTime, uSpeed, uWidth, uDir;
uniform vec3 uColor;

void main() {
  float radius = uTime * uSpeed;
  float width  = min(uWidth, uTime * 5.0);
  vec2  center = vec2(0.0);
  float dist   = uDir == 1.0 ? abs(vPos.x) : distance(vPos.xz, center);

  if (dist > radius && dist < radius + 2.0 * width) {
    float pct = dist < radius + width
      ? (dist - radius) / width
      : (dist - radius - width) / width;
    vec3 outCol = dist < radius + width
      ? mix(outgoingLight, uColor, pct)
      : mix(uColor, outgoingLight, pct);
    gl_FragColor = vec4(outCol, diffuseColor.a);
  } else {
    gl_FragColor = vec4(outgoingLight, diffuseColor.a);
  }
}
3. 加号形状批量生成
使用 Shape 定义加号形状,通过合并多个几何体优化性能。
javascript
1
2
3
4
5
6
7
8
9
10
11
12
13
14
15
16
17
const plusGeoArr = [];
for (let r = 0; r <= opt.gridDivision; r++) {
  for (let c = 0; c <= opt.gridDivision; c++) {
    const shape = new THREE.Shape([
      new THREE.Vector2(-armLen, -lineW), new THREE.Vector2(-lineW, -lineW),
      new THREE.Vector2(-lineW, -armLen), new THREE.Vector2(lineW, -armLen),
      new THREE.Vector2(lineW, -lineW),   new THREE.Vector2(armLen, -lineW),
      new THREE.Vector2(armLen, lineW),   new THREE.Vector2(lineW, lineW),
      new THREE.Vector2(lineW, armLen),   new THREE.Vector2(-lineW, armLen),
      new THREE.Vector2(-lineW, lineW),   new THREE.Vector2(-armLen, lineW)
    ]);
    plusGeoArr.push(
      new THREE.ShapeGeometry(shape).translate(-half + r * cellSize, -half + c * cellSize, 0)
    );
  }
}
const plusMesh = new THREE.Mesh(mergeGeometries(plusGeoArr), ...);
4. 相机路径动画
使用 GSAP timeline 实现平滑的相机动画过渡。
javascript
1
2
3
gsap.timeline()
  .to(camera.position, { duration: 2.5, x: -20.46, y: 19.30, z: 58.38, ease: 'circ.out' })
  .to(camera.position, { duration: 2.5, x: -0.25,  y: 12.40, z: 14.65, ease: 'circ.out' });
💡 调试与优化
| 问题类型 | 表现形式 | 解决方案 |
|---|---|---|
| 点阵渲染异常 | 点大小不一致或闪烁 | 调整 sizeAttenuation 参数,禁用透视衰减 |
| 性能问题 | 大量点导致帧率下降 | 使用 InstancedMesh 替代 Points,或降低点密度 |
| 纹理加载失败 | 地面显示黑色 | 检查纹理路径和跨域配置 |
| 动画循环不流畅 | 时间重置时有跳变 | 使用 mod() 函数实现平滑循环 |
🚀 扩展思路
| 变体效果 | 核心改动 | 难度 |
|---|---|---|
| 多中心扩散 | 添加多个扩散源,实现波纹干涉效果 | ⭐⭐ |
| 颜色渐变 | 扩散环颜色随时间变化 | ⭐ |
| 交互式触发 | 点击位置作为新的扩散中心 | ⭐⭐ |
| 高度变化 | 扩散时带动顶点高度变化 | ⭐⭐⭐ |
本文档由 ThreeLab 编辑整理,如需转载,请注明出处。
 京公网安备 11010502038735号
💬 评论区
评论功能即将上线,敬请期待!